Photo delivery
QR codes for wedding photos: where to put them and how to print them
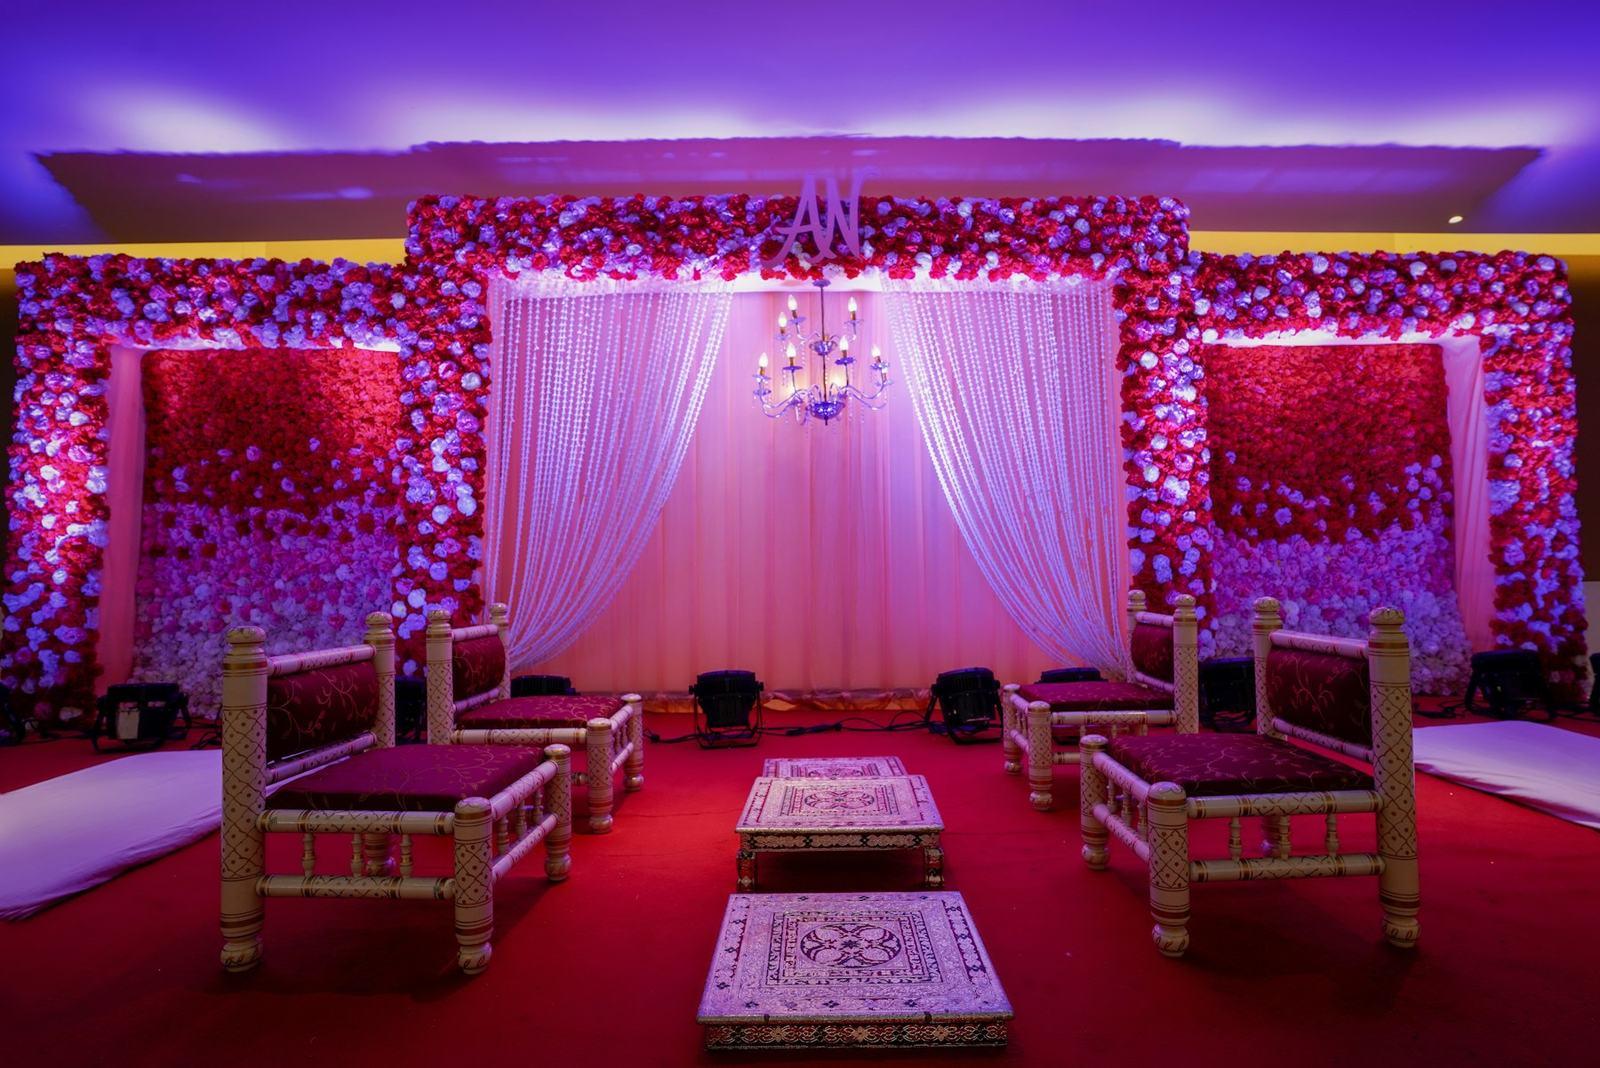
At a reception in Ahmedabad last year, the decorator printed the photo QR code in gold foil on a mirrored acrylic welcome board. It looked stunning. It also reflected the chandeliers straight into everyone’s phone camera, and in two hours I counted maybe five people who managed to scan it.
I’ll admit we had said “make it match the decor”. We didn’t say “and keep it scannable”. Lesson learned.
A QR code is the simplest way to get your gallery link from a printed card into a guest’s phone. It’s also very easy to get wrong in ways you only find out on the day. This is the checklist we now give every studio.
First, decide what the QR is for
Remember that the photos aren’t ready during the event. You deliver them after: upload, click Find faces, share. So a QR at the venue isn’t “scan to see photos now”. It’s “here is where your photos will be”, and the wording has to say so.
That gives you two kinds of QR:
- Venue QR codes (welcome board, table cards, the LED screen). They put the link in front of every guest while they’re still in the mood, so they can save it.
- After-event QR codes (thank-you cards, return-gift tags, a printed note in the album box). They arrive when the photos are ready, so the guest scans and sees their gallery straight away.
The second kind gets far more scans. The first kind is still worth doing, because some guests won’t be in the family WhatsApp group where you’ll share the link.
Where to put them
The welcome board
Everyone walks past it, and half of them take a photo of it. That photo becomes a reminder on their phone. Put the QR in the bottom third of the board, at roughly chest height, not down by the easel legs.
Table cards
The best venue spot, because people sit at a table for an hour with nothing to do between courses. A small card next to the menu works. One per table is enough.
The LED screen
Good for one moment: the end of the reception, when the couple is on stage and everyone’s watching. Put the QR up for 30 seconds with a line saying when the photos will be ready. Don’t loop it through the whole evening between performances. People stop noticing it.
Thank-you cards and return gifts
This is where I would spend the most effort. If the couple sends thank-you cards or a thank-you message on WhatsApp a few days after the wedding, the QR (or the link itself) goes in it. Timing is perfect: the photos are ready, the guest is remembering the wedding fondly, and they have a reason to scan right now.
The photo booth
If there’s a booth or a selfie wall, a small QR on the side gets scanned a surprising amount, mostly by the younger cousins.
Size, contrast and the mistakes that break it
QR codes are tougher than they look, but a few rules matter.
Size follows distance. A simple rule: the code should be at least one-tenth as wide as the distance it’s scanned from.
| Placement | Typical scanning distance | Minimum QR width |
|---|---|---|
| Table card, thank-you card | 30 to 40 cm | 3 to 4 cm |
| Welcome board | 1.5 to 2 m | 15 to 20 cm |
| LED screen in a banquet hall | 8 to 10 m | 80 cm to 1 m on screen |
Dark on light. Black or a deep colour on white or cream. Inverted codes (light on dark) work on some phones and fail on others. Not worth the risk at a wedding where half the phones are five years old.
Leave a margin. The blank border around the code (the “quiet zone”) is part of the code. Keep a clear margin of at least the width of four of the little squares. Don’t let a floral border creep into it.
No foil, no mirror, no gloss under spotlights. Matte paper or matte lamination. If the board must be acrylic, put the QR on a matte white panel stuck onto it.
Keep any logo in the middle small. QR codes can survive a small logo in the centre because they carry spare information. Covering more than a small square in the centre, or putting it near the three big corner squares, is where scans start failing.
Don’t shrink it to fit the design. If the designer wants it smaller than the table above, the designer is wrong. Politely.
Make one and test it
You can make a QR for any gallery link here. Paste the guest link from your SpotMe event, download it, and print it at the size you plan to use.
Paste your SpotMe guest link, or any link. Shorter links make simpler, easier-to-scan codes.
- Print it at least 3 cm wide, larger on welcome boards read from a distance.
- Keep dark on light. Light codes on dark backgrounds fail on many phones.
- Scan the printed proof with two different phones before the full run.
There’s also a standalone QR code generator if you want to bookmark it.
The test, before anything goes to print
- Print one copy at actual size on the same kind of paper. Not on screen. Screens are brighter and sharper than paper.
- Scan it with three phones: an iPhone, a mid-range Android, and the oldest phone in your studio. If your mother’s phone can’t read it, a third of the guests can’t.
- Scan from the real distance, in light that’s close to the venue’s. A sangeet hall at night is much dimmer than your office.
- Check where it lands. Make sure it opens the guest link for the right event, not the couple link and not last week’s wedding. Copying the wrong link is the most common mistake we see, and it’s the most embarrassing.
The wording matters as much as the code
A QR on its own gets ignored. Guests need to know what it is, what will happen and when. Keep it to two short lines.
For the venue:
Your photos from today, found by face. Scan to save the link. Photos ready by Tuesday. Just take a selfie, no app needed.
For a thank-you card:
Thank you for celebrating with us. Scan to see every photo you’re in. Takes a selfie and about a second.
Add a line in Gujarati or Hindi if the guest list leans that way. “તમારા ફોટા માટે સ્કેન કરો” on a Gujarati wedding table card gets more scans from the older relatives than any English line.
And always print the short link as text under the code. Someone will have a phone camera that refuses, and they can type it.
What happens after the scan
The guest lands on your gallery in their phone browser, with your studio name and logo on it. They enter their name and number, verify with a code on WhatsApp, take a selfie and see their own photos. You get their name and verified number in your guest list.
That last part is why I think the QR is worth the trouble. Every scan is a guest who wanted to see your work enough to point a phone at a card. If you want to see what they’ll see, try the demo, or read about the guest gallery.